Friday, September 26, 2014

Nature File Folder Book: Part 2


We continue on with the Nature file folder book.

These are the first inner pages.


MATERIALS REQUIRED:

- acrylic or tempera paint
- cotton swabs (Q-tips) or extra pencil with eraser on end
- nature stamps
- white paper
- old book page
- plastic wrap
- scrapbooking paper scraps
- straw
- spray paint or inks if you have them otherwise you can use sponges
- yellow paper 
- black buttons
- pinecone pips, optional
- scrap of yellow felt
- coloured feathers


PROCEDURE:


We now have to paint the inside pages.


The first inner page has a big sky section and and a strip of grass.

For the 2 middle pages the kids chose whatever colours they wanted.

The last page needed blue on top section and bluish green for bottom section.


When the paint has dried paint a nice tree with black acrylic or liquid tempera.


Using a cotton swab or pencil end dab on some leaves in fall colours.


The 2 middle pages are where a lot of info gets added in science class.  Tuck in the bookmark, add tabs, tags, and cards.

I had some nature stamps so they kids used these to decorate these pages.


Take 6"x3" or so sized paper and paint a light green with disk tempera. This will be your frog so pick whatever colours work for you.


While the paint is still wet lay a piece of plastic wrap on top and scrunch it a bit.  Leave on to dry.


While your paints are out paint an old book page with some stripes.

We will use it to make the reeds in the pond.


Now we are going to use some scrapbooking paper to make the rocks.  We also used some extra painted paper I had on hand or you can paint some.


Cut out the rocks.  Add a fish if you want.


Add some bubbles using a straw and some white paint.


Cut some reeds out of the painted paper or scraps you have.

Glue into place.


Cut out a frog from the paper you previously painted.  Add some details in black pencil crayon or fine marker.  Glue on a goggly eye.

You could also make your frog sitting on a lily pad if you wanted.


I had some butterfly embellishments from the Dollar store so we added as well.


Back Cover:


Take a piece of brown kraft paper (about 5"x 7") and spray on some paint or ink.  You could also sponge on some colour.


This will be our owl body.


When dry turn over and make an owl body.  Cut out.


Time for the eyes. Cut out a large white circle, a smaller yellow circle, and then add a black button.


To make the feathers we painted some of the pips taken off a large pinecone.

If you don't have these available you could just make them from paper.


Glue owl onto back page.  Add some coloured feathers (Dollar store) for the wings.

Using a scrap of felt cut out a triangle beak.


Glue on the feathers.


You can add some text to label your owl.


That's it……I know a lot of steps but what a great book at the end that ties into science.


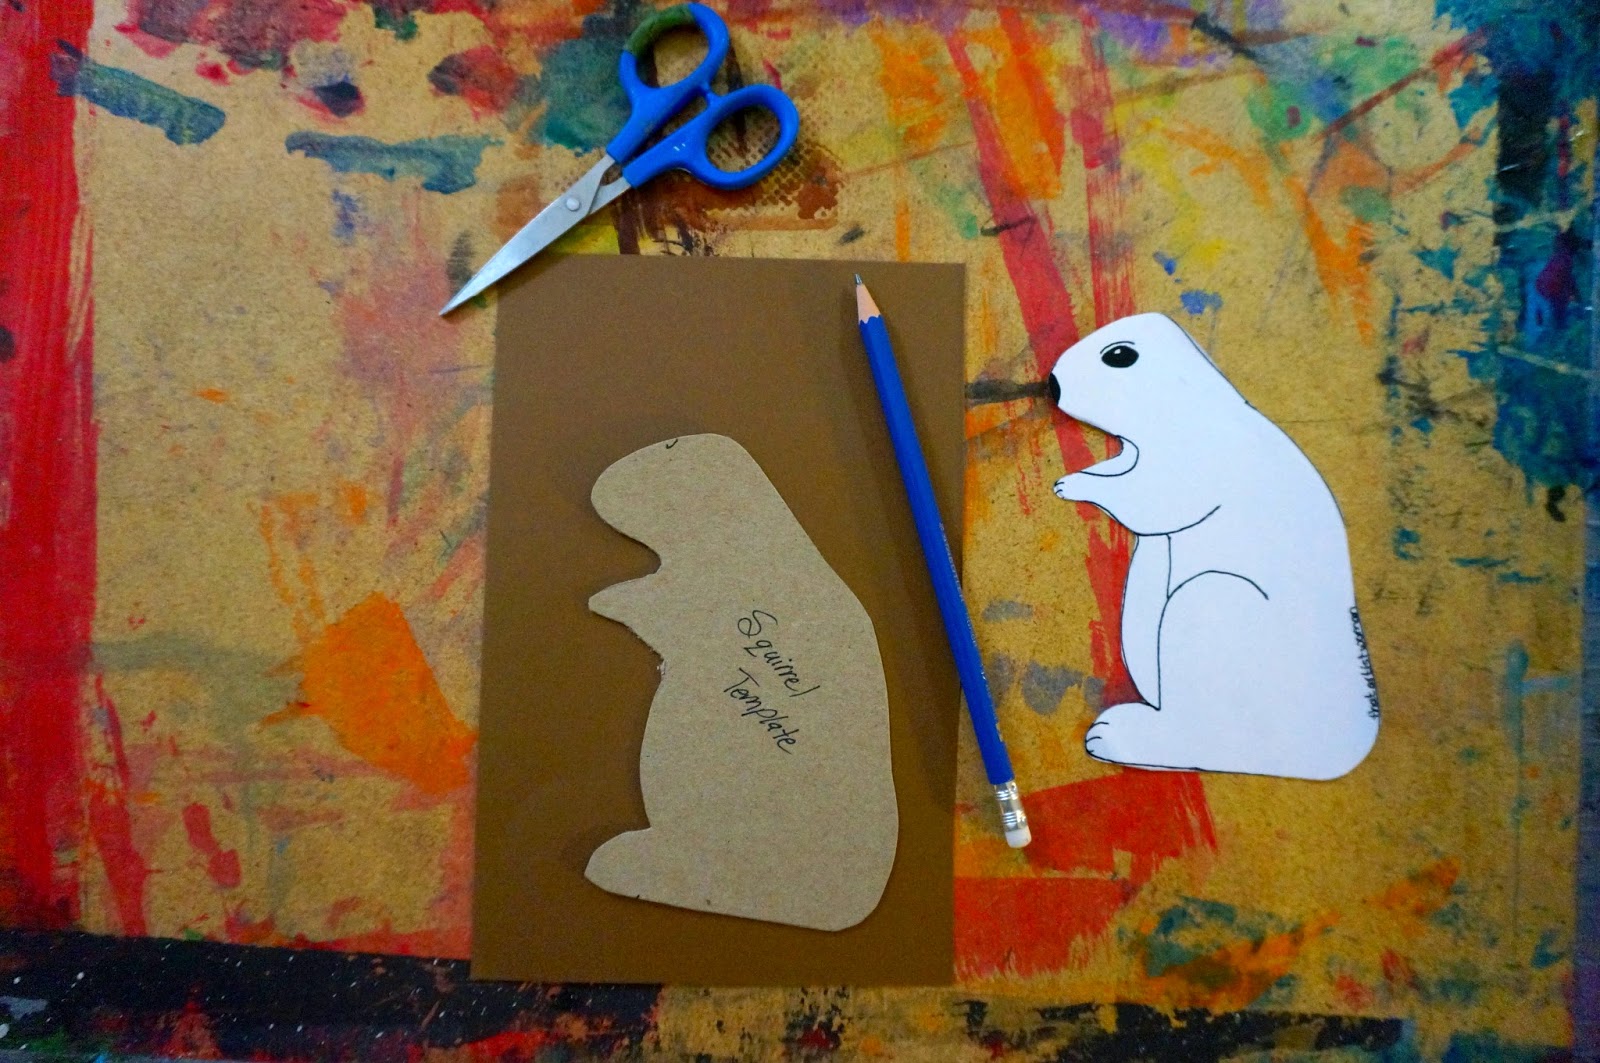
Here is some student work in progress.


See you next time.


Gail

Thursday, September 25, 2014

Nature File Folder Book: Part 1


Last year I needed to come up with a project for a Grade5/6 split.

Tying it into the science curriculum we made these file folder books. (trees and forests, wetlands).


After getting a few questions recently on how to make it I thought I would post it.  It's a great Autumn project.


The dragonfly is a clothespin that holds the book closed.


This is the back when open.


These are great to display as they stand up.


These are the first 2 inner pages…..I'm sure the tree looks familiar.


The next 2 inner pages.  I love these file folder books.  The pockets give you lots of room to stuff with handouts, index cards with info, study flash cards, etc.


When I make these in a residency we do all the book construction and art work. We usually do the book mark and then I hand over a bunch of blank cards, tabs, and tags to the teacher so he or she can customize what info the students will put into the book.

My sample is missing this extra info but I think you get the idea.

I'm going to split it into 2 posts as there are a lot of steps.


MATERIALS NEEDED:

- blank file folder book, I've posted the directions on how to make these a few times, check out this post  for the 'how to'
- acrylic or tempera paint 
- white acrylic paint or gesso
- thin cardboard like a cereal or cracker box
- dragonfly template, use the small one
- dragonfly names
- glitter glue
- pony beads
- clothespins
- tacky glue
- drywall filler/medium
- small round object (2" diameter)
- black pencil crayon, white crayon or pencil crayon
- squirrel template
- a few leaves from outside
- scrap of felt and black sticky foam, optional
- alphabet stamps, ink pad


PROCEDURE:
When I do these books at school we work on different parts throughout a session, maximizing our time. But it's easier for me to explain each component from start to finish.

Dragonfly Clothespin:

The dragonfly template is from another project. Use the small one. This is a picture of the larger one, same technique though.

Trace around the template on to the thin cardboard and cut out.


Paint a layer of white acrylic or gesso on the cardboard.


While it's drying work on another part of the book.


Paint in the body of the dragonfly. We used craft acrylic paint.


Paint the clothespin at the same time.


I printed off some sheets that had all the names of all the different types of dragonflies.  There are some great ones!

The kids selected a few (I asked for  at least 4) and glued them on the wings.

Trim if needed.


You can add a little diluted paint to give them a wash if you want.

Add a coat of glitter glue to the wings for that sparkle.


Glue on 2 beads for eyes.

Glue onto clothespin.


Open up your file folder book and paint the back. We used acrylic paint.  The 2 middle panels will have the squirrel so they both need to be the same colour.

The kids could pick what colours they wanted except for the from cover.  In order to get it too work we needed it yellow.


Front Cover:


Trace out a goose shape on some thin cardboard, mine is about 4".


I had templates for the kids to use but also encouraged them to create their own.


Cover one side with a thin coat of drywall medium.

Pounce your finger where the wings would be to make some feather texture.

Let dry.


Using watery disk tempera paint the upper 2/3rds of the from cover orangey red.


You need a round flat object about 2" in diameter.  I'm using a little plastic container I use for salad dressing in my lunch.

Cover top with a kleenex.


While the tempera is still wet press this down into the paint.  You are lifting away the paint, getting a nice circle to be your sun.


Add some watery green disk tempera to the ground on the cover.


Using a touch of black acrylic paint in the neck and head leaving that white patch in the cheek.


With some watery brown acrylic paint in the feathers.  You want to leave the belly white.


Add a tiny goggly eye.


If you want to seal the goose you can a little mod podge once the paint dries.


With a black pencil crayon add some grass to the cover.


Glue the goose into position.


Use the black pencil crayon to make the legs.


Middle Section of Back:


So this is based on an earlier project.  I just adapted it for the book.


Collect some leaves from outside.

Paint the back of the leaf with some fall colours and print.  I get the kids to practice first by making the bookmark.  When ready they make the tail for the squirrel by making a curved stack.


Let dry.


My squirrel template is here.

Trace onto brown paper.  I encourage the kids to make their own squirrel shape but have the template as a back up.

Cut out.


Using a white crayon and black marker (could be a pencil crayon) add some details to your squirrel.

For the eye we punched some black sticky foam.


Cut an ear out of felt and glue on.


Cut tail out of stamped paper.  Glue squirrel onto back of file folder book.

We added a list of the type of squirrels, painted with some watery tempera.

We also stamped a big S from my multitude of alphabet stamps and added the text "is for squirrel".


We'll finish the rest tomorrow.


So I offered this extra book of mine up for giveaway and I had 266 entries!

Wow, thanks everyone for all the comments and support. I wish you all could win. :)

The winner by random draw is Beverly Pastore.  Congratulations Beverly!


Here is the link to this book on Amazon if you need further info and you never know it could be in the local library.

Take care everyone and I'll be back…..

Gail