
First up these little pumpkins.
MATERIALS REQUIRED:
- a few paper towels, make sure they are the cushiony ones not those industrial ones
- white glue
- a recycled container for your glue mix
- water
- little plastic pumpkins from the Dollar Store (optional)
- paint, either acrylic or tempera
- wire
- a few beads
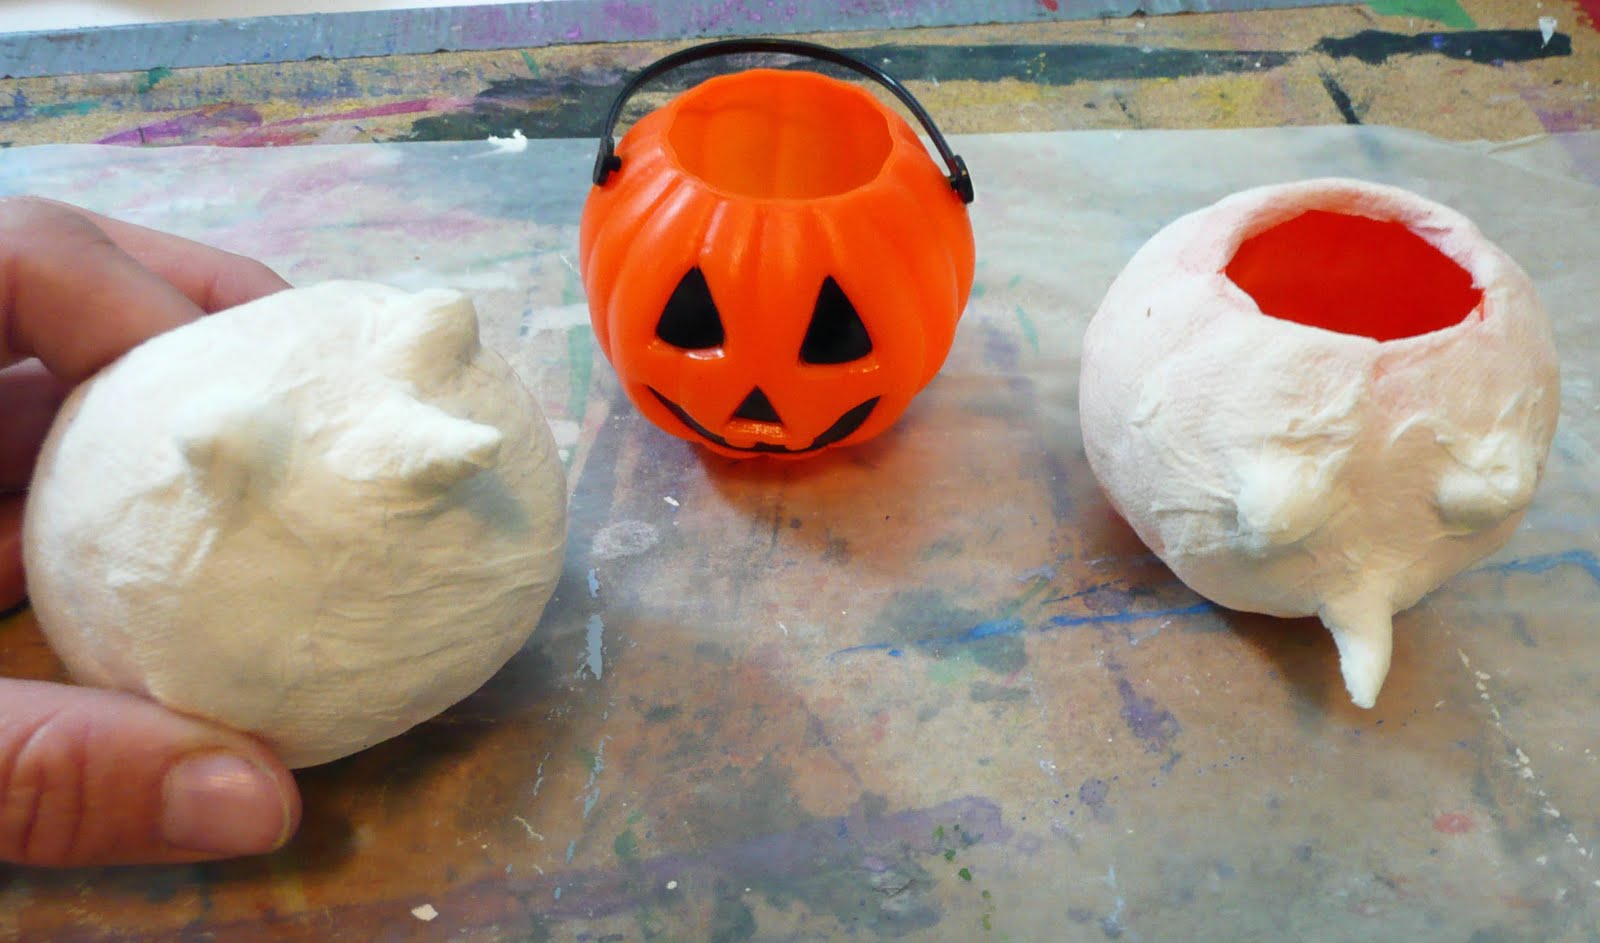
Remove the plastic handle.
Tear or cut your paper towel into small strips.
Combine your glue and water at a 1 to 1 ratio and start wetting your strips. Apply in a criss cross way. You'll only need 1 to 2 coats here because you have a base. Build up some features onto the face. I used little balls for the eyes and a carrot shape for the nose. Stick onto face and add some strips overlapping both the feature you've added and part of the face to adhere. There are lots of options here, you can add lips, eyebrows, ears, etc. Let dry overnight and then turn upside down to let the bottom dry out for a few hours.

Once this is dry you can trim out any excess paper at the top if needed with scissors.
Now I wanted a kinda of distressed look so I painted them black first. You can only do this with acrylic paint if you are using tempera just start with the final colors you want.

Let dry.

I'm keeping these as little baskets so I added a wire handle and a few beads.

I have a few more projects coming up that are based on these little plastic pumpkins so if you're at the Dollar store I would definitely pick up a bunch!
.....and if you are tree trimming for Fall keep a large branch as I can already visualize a Halloween tree on display at school with each child's very individual pumpkin.

We'll see you soon!

Fantastic! Kisses from Greece!
ReplyDeleteThey are so cute!!!!
ReplyDeleteHave a great weekend Gail, enjoy yourself.
Neato! Very inspiring. :)
ReplyDeleteThese are so wonderful! Love the vintage look to them, and I love the method. thanks for the great idea!
ReplyDeleteI love these...very cool! saw you on Facebook from Dollar Store Crafts link
ReplyDeleteDid your paper mache pumpkin project with 5th graders....HUGE SUCCESS! Wish I could post a picuture of the finished poject...I think you'd be proud! Thank you, Gail!
ReplyDeleteExcellent- great charachterisation
ReplyDeleteVery cool. I love the antiqued vintage look.
ReplyDelete