This Fall I have done a lot of these 'postcard' projects.
It's an image that would be on a tourist postcard but we make it canvas sized.
I have made similar ones for the Taj Mahal and Machu Pichu that tie into the Grade 3 social studies curriculum. These Alberta ones tie into social studies for Grade 2 and 4. We looked at 3 regions, prairies, forests, and mountains.

You can take these techniques and apply them to whatever region you are studying. It just goes to show how versatile the drywall filler on cardboard technique is.
MATERIALS REQUIRED:
- recycled cardboard
- drywall filler
- substrate, canvas, cardboard or hardboard
- acrylic paint
- tacky glue, glue gun for the more stubborn pieces, (adult use only)
- black scrap paper for prairie scene
- printed text titles
- textured wallpaper or paper
- photos of animals
PROCEDURE:

Using your substrate to measure how large your pieces should be, cut out the parts you wish to drywall. We used a mountain, aspen tree trunks, and a grain elevator.

Apply a generous amount of filler on the cardboard. You need to use the brown or grey side if you are using a cereal box. The coloured side has a shiny finish that the drywall won't stick to when dry...it just all flakes off.

I leave the pieces on wax paper to dry. (6 hrs - overnight)
You may find the pieces curl while they dry just gently bend them back the best you can. The really curvy ones will get glued on with the glue gun.

To create the hay bales we cut out circles and with the glue drew in some spirals. Leave overnight to let the glue dry.

I use tape with the younger grades to create a STOP guideline for painting.
All 3 regions need a nice blue sky. We used turquoise acrylic. With the canvas we wrapped the colour around the sides and the top.
When the kids reach the tape they STOP....or at least that's the theory.

When the drywall is dry it's time to paint.
For the aspen tree trunks we just sponged on some black and grey.

For the prairie one we painted the grain elevator red.

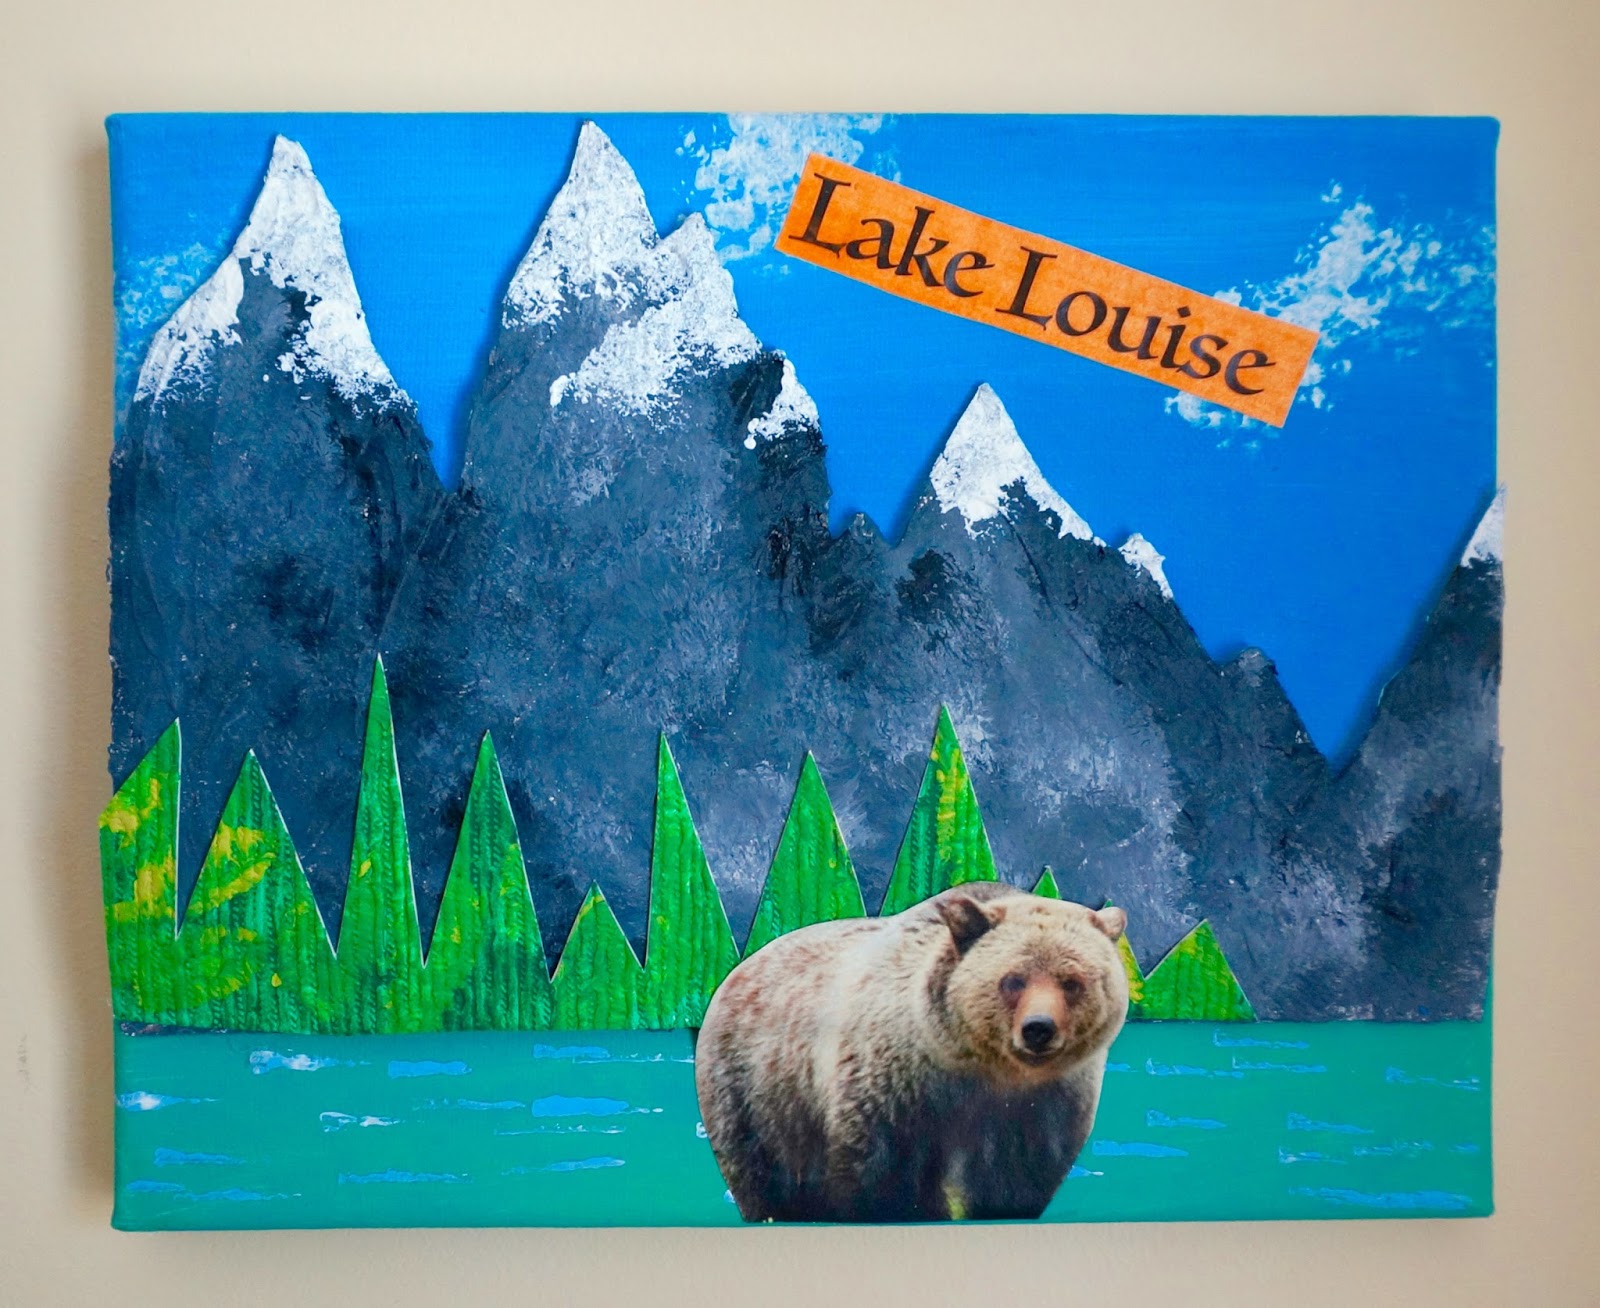
For the mountains we painted them black and grey. You can leave the tops white for snow or sponge on some white once it has dried.

Remove tape from canvas. You can place it above the line to help the kids with their horizon line when painting the ground.
We wrapped the colour around the sides again and the bottom edge.
Sponge on a few clouds, this is where you can sponge on that snow for the mountains as well.

For the mountain and forest regions we painted some textured wallpaper to make our trees. You can also use textured paper or pass it thru the crimper.

We used a piece of cardboard to stamp in some lines for all 3 regions.
For the prairie and forest it was for the grass or crops. For the Fall season we used yellow and brown. While you have that yellow paint out you can paint those hay bales.
With the mountain scene we turned the cardboard horizontal and stamped a few lines in white and blue for the ripples on the lake.

Cut a good tree line out of the textured paper. I tell the kids it's like shark teeth but we want a variety of sizes here.

For the forest glue the tree line in place and then the aspen trunks.

For the mountain we glue the mountain in place first, you may have to use the glue gun for the curvy ones.
The tree line sits at the bottom of the mountain at the water's edge.

This is from another project but shows how we stamped leaves onto our aspen trees. For fall we used autumn colours. I have a set of unsharpened pencils that I use for this.


For the prairie, glue the grain elevator near the horizon line. We used scraps of black paper for the roof lines and door. I printed off the Alberta wheat pool sign. You can email me at thatartistwoman@shaw.ca
if you need the logos and I can send them to you.
Glue on the hay bales.

We then added our titles that we printed off from the computer and our animals.
For the titles I added a quick paint wash for colour.
That's it.
Gail
Amazing! Congratulations!
ReplyDeleteThis is so awesome! I teach grade 2/3 and I was wanting to do an agriculture related art project for the 2s who are studying Saskatchewan, and then a similar project for the 3s. I can do this Alberta one, but make it Saskatchewa for my 2s, and do your Peru one for my 3s! Thank you!
ReplyDeleteThis is an amazing lesson for grade 4- Social and art
ReplyDelete