
So I was trying to get a paint effect that would simulate birch bark and this is what I came up with.
In the past I have done the crumpled kraft paper which you then iron but...... it either leaves your painting all crumpled.......or you have to paint on the crumpled surface which is difficult.

This is much easier.
MATERIALS REQUIRED:
- wax paper
- masking tape
- liquid tempera or acrylic paint
- black paper, construction paper is OK
- paint brush
- some branches
- string
- water mist sprayer
- glue gun, adult supervision required

Take a piece of wax paper that is a bit larger than your black paper and crumple.
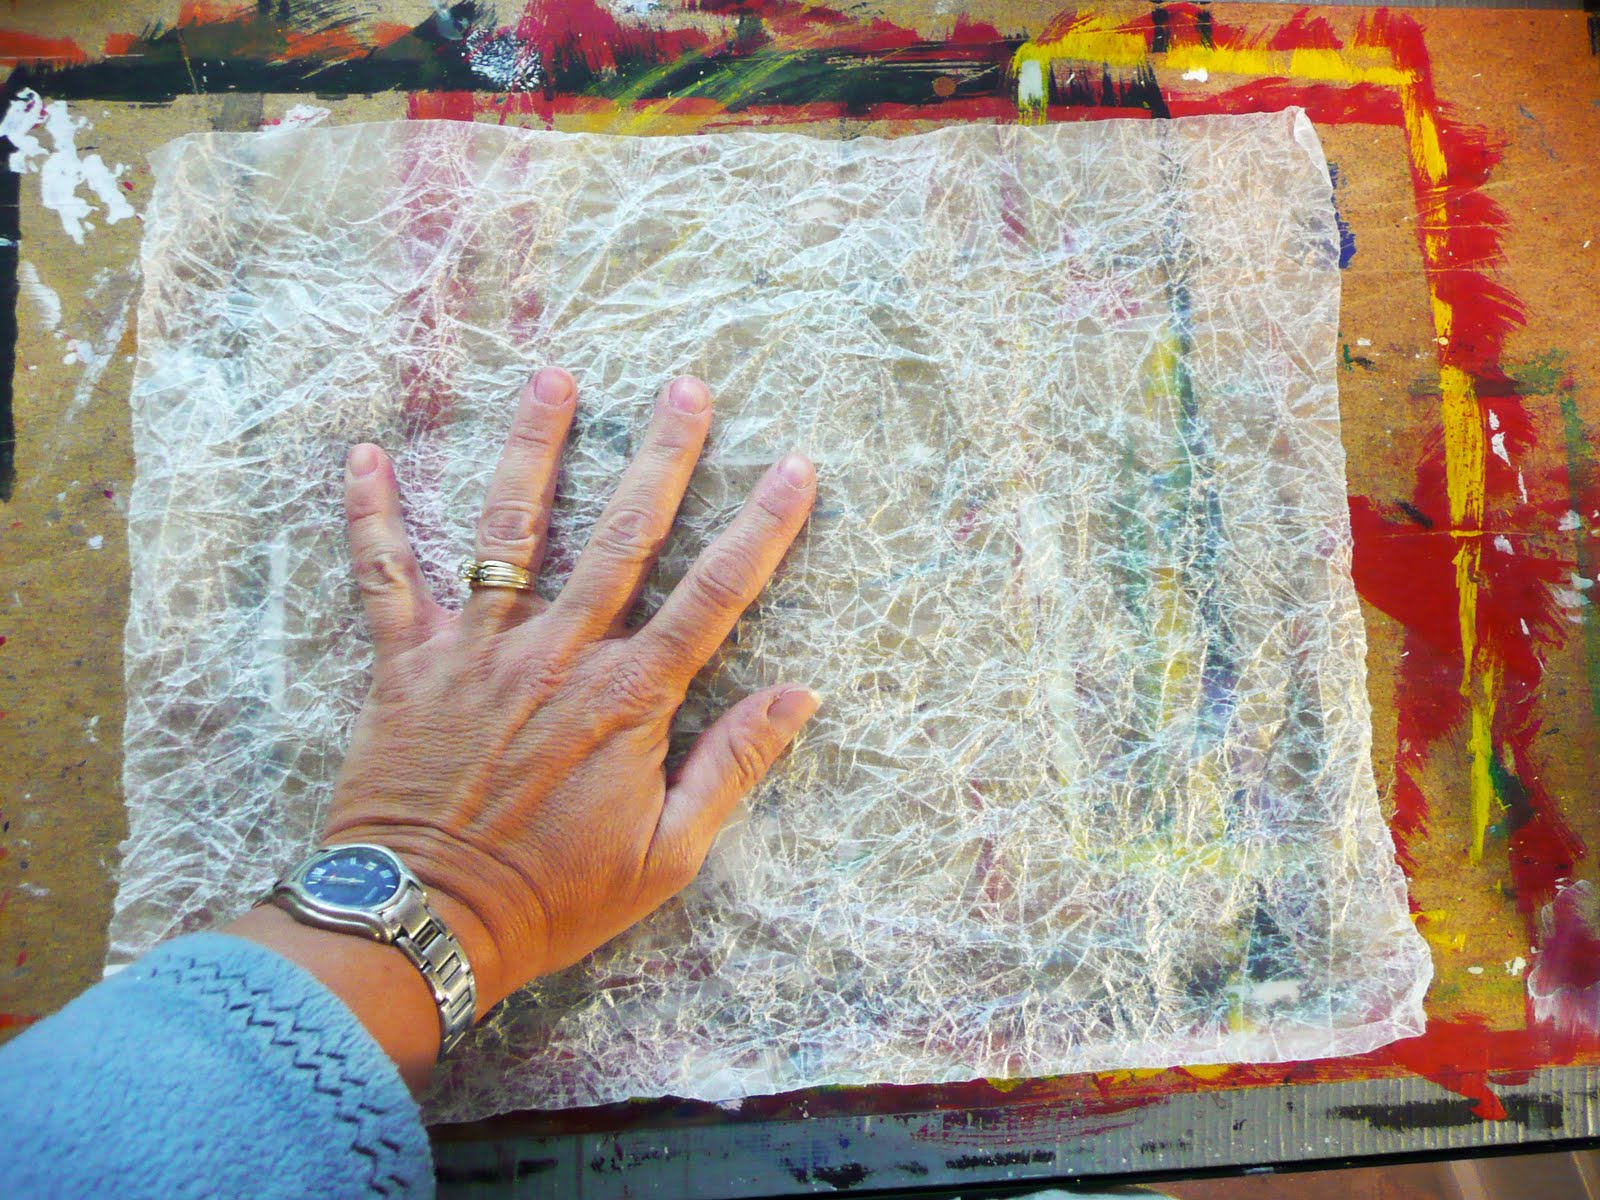
Smooth it out flat.

Tape it down to your work surface so it won't move on you.

Paint on top of the wax paper. Here I'm using white with a touch of yellow ochre and bit of blue. Now you don't want to have gobs and gobs of paint on here just a nice even coat.

Now you want to keep your paint wet (keeping it open we would say) so it helps to spray it with some water. Here I'm just misting it a bit. You can recycle some spray containers or visit the dollar store/drug store as they have lots of these little misters for travelling.

When you have painted an area larger than your piece of black paper lay it down and rub a bit, especially the edges.

Peel the black paper off. Don't leave it on too long especially if you are using acrylic paint as it will stick.

This is the paint effect you get.

Now using a colored pencil or conte pencil sketch in your design.

Paint in your design.

I found some twigs in the backyard and cut them to size.

I then attached them with a glue gun.

Most birch bark paintings seem to have nature studies as a subject matter so these bird paintings work well.

Here I should have used colors that contrasted more with the background but I am pleased with the texture in that background.
I can't wait to see what the kids come up with!

Don't forget to enter the giveaway from my last post. There are 3 books up for grabs so be sure to enter before next Monday.
Next up is a great lesson in composition so we'll see you soon.

That is beautiful!
ReplyDeleteLove that background -- will give it a try. Thanks!
ReplyDeleteWhat a very helpful tip you have just shared about the wax paper monoprint onto the black surface to give the crumpled texture effect. That is a miracle hint. Thank you so much!!!
ReplyDeleteWhat a great technique! I'm going to give this a try. Thanks!
ReplyDeleteHi Gail,
ReplyDeleteI love your blog. For sure it is the best one because your tutorial is well explained.
May I ask you to add what the learning objectives inherent in the completion of these projects are? (i.e., texture, color, lines, shading etc.) I'm a just homeschool mom in love with art.
God bless.